MATERIALS YOU WILL NEED
Thin white paper / Tissue paper / tracing paper / coloured tissue paper
Black paper
Scissors / craft Knife
Glue
Pencil
Scrap Paper
Sellotape
Ruler or tape measure
Felt pen or marker
WATCH THE VIDEO
METHOD
Decide on myth/story you will be illustrating
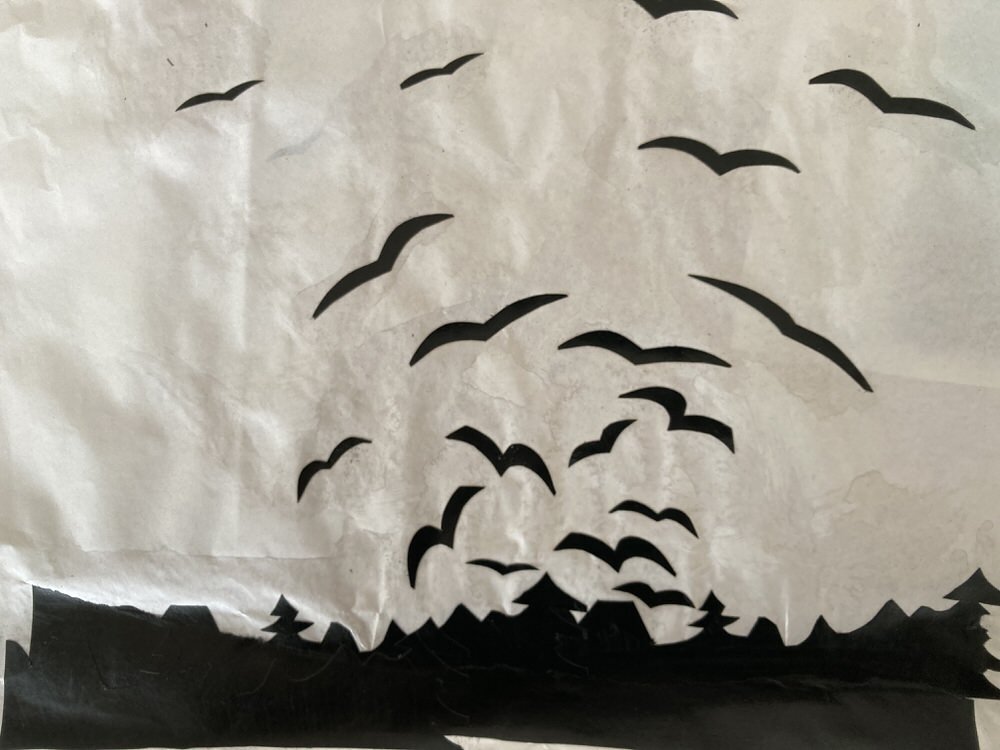
Pick out an element of the story – this could be a full scene or it could be a simple element for example the milky way from the Lindu story that Malcom has read us, or the birds
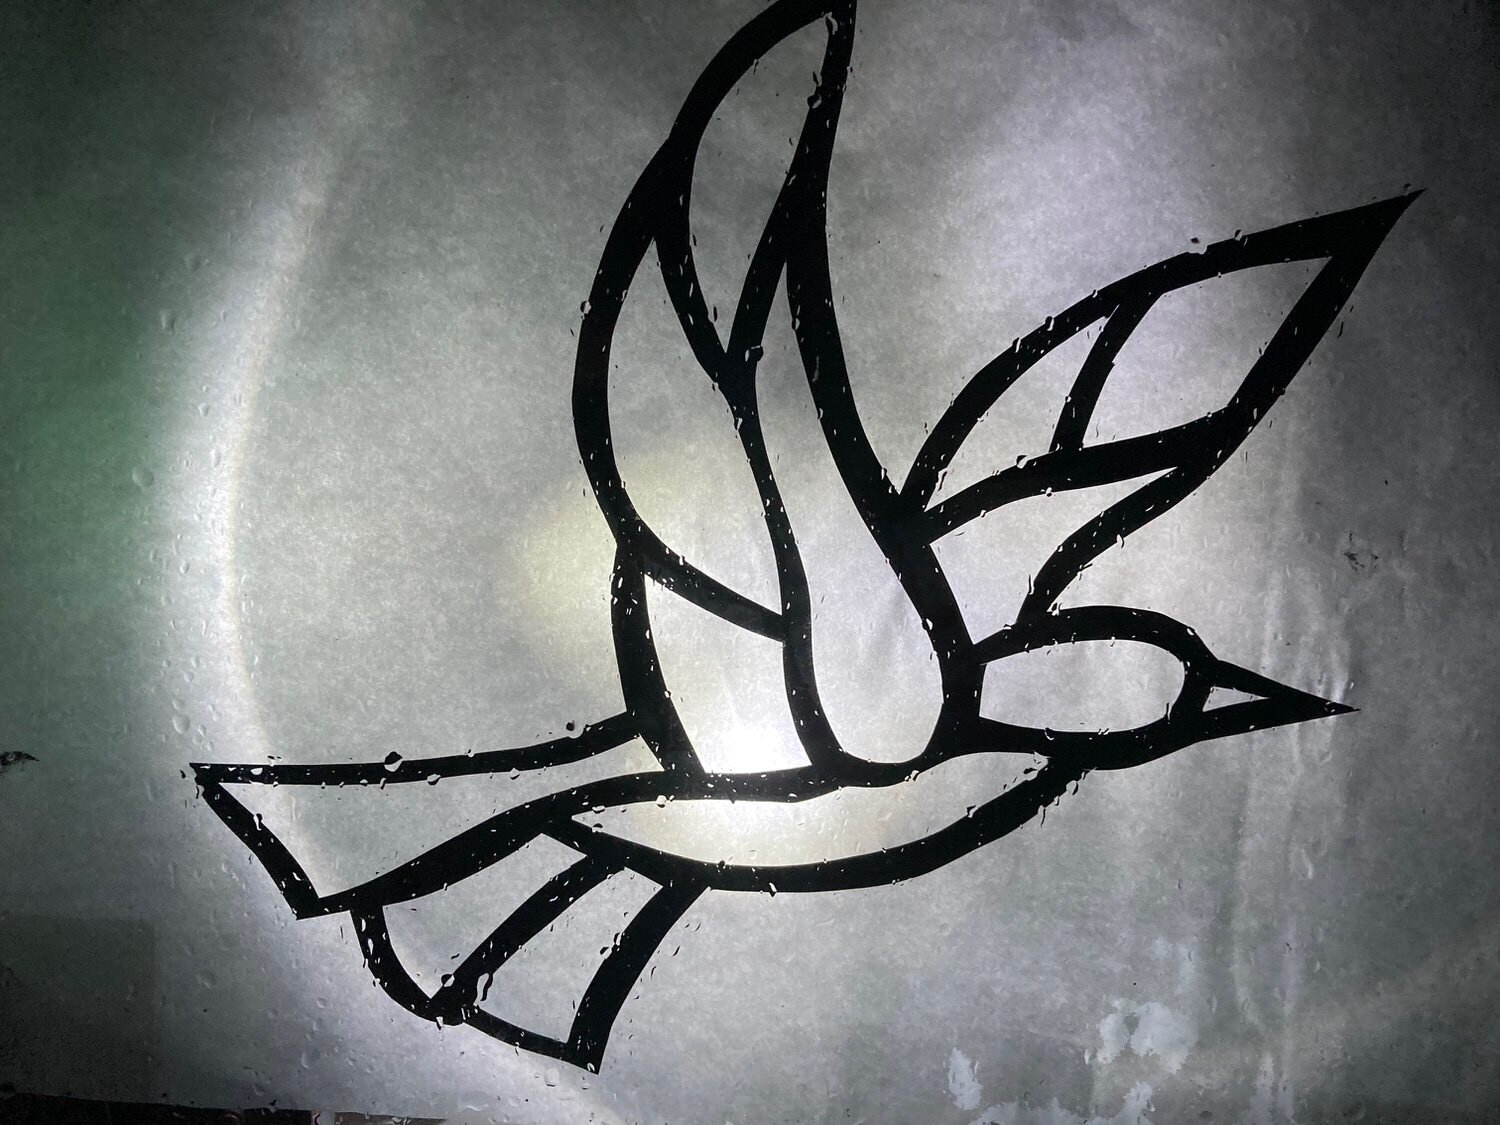
Sketch out a few ideas – keep it simple – start with a line drawing and then work out the areas that will be cut out - these will have the light coming through and work out areas that will be black. Mark them on your sketch for reference
Measure the window you will be using
Stick scrap paper together to the size of the window
Sketch out your design large scale and cut out the bits that will be in the black paper as your template
Trace or draw these onto your black paper and cut out
Lay out your base paper on a table and assemble the pieces of black paper on top
When you are happy with the position then glue these down securely
Once dry stick the scene to the inside of your window with the black paper next to the window using Sellotape
Place a light source behind the picture and see your picture come to life. This could be a small lamp or torch or the main room light – you will need to experiment in the dark to see what works best
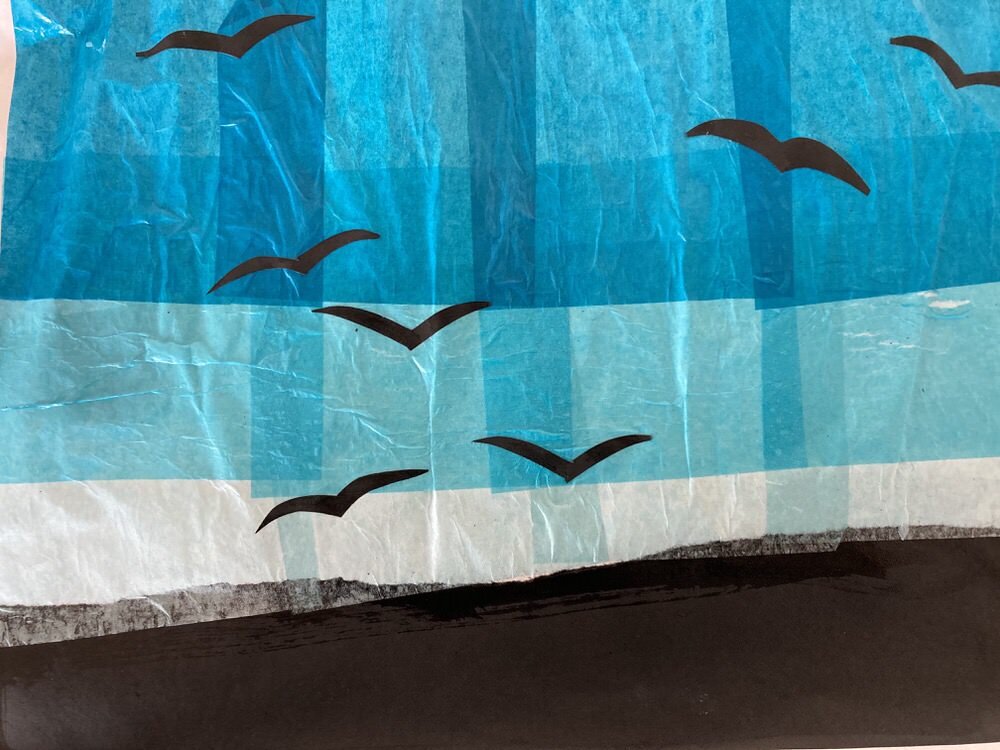
You can add colour to the background or use coloured tissue papers so long as it still lets the light through
Don’t forget to send us pictures - we’d love to see them.